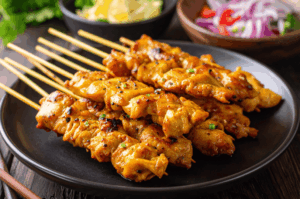
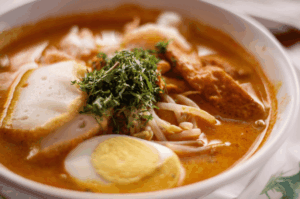
Picture a bowl of fiery laksa, its surface shimmering with a glossy glow as aromatic steam curls into the air. For food photographers, that sense of warmth and shine is a magical moment to capture—a true collision of culinary craft and creative technique.
Let’s dive into the world where natural light—a free and abundant resource—helps you showcase dishes like laksa with beautiful images that engage viewers. This guide will show you how to master golden hour photography and make every noodle shine.
What is Golden Hour Food Photography?
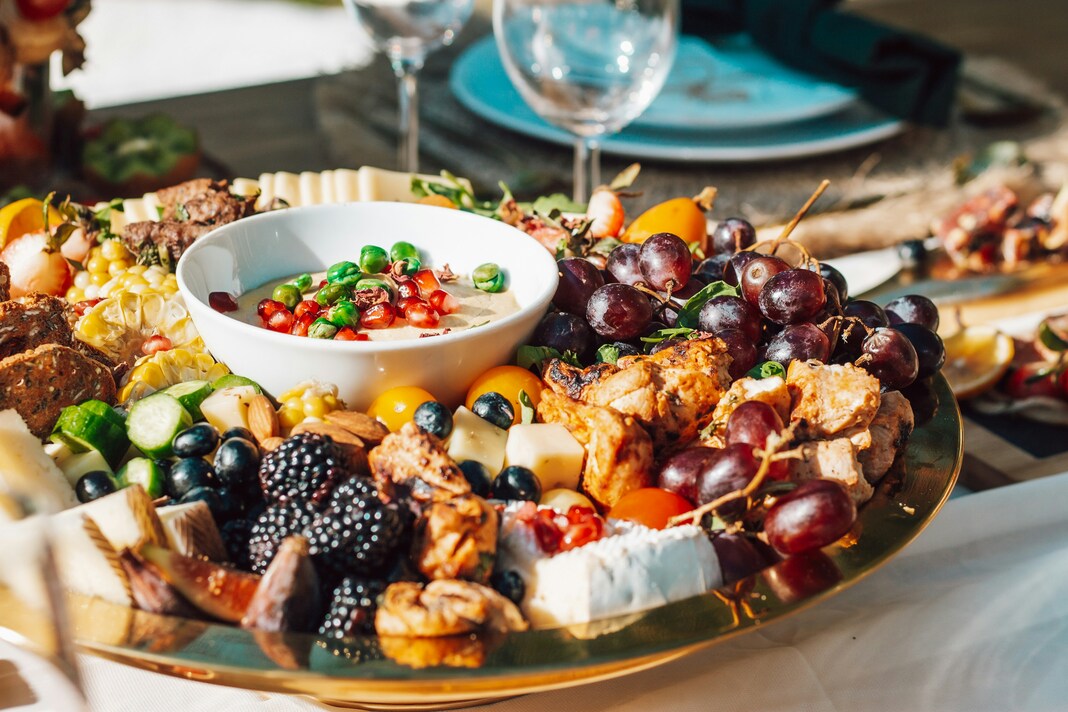
The golden hour is that much-hyped span just after sunrise and right before sunset, when sunlight is soft, warm, and low in the sky. This is often considered the best light for photography, as it enhances the visual appeal of your images. Unlike midday’s harsh sunlight, golden hour light travels through more of the atmosphere, diffusing and warming as it goes.
Why does this matter for food? Bright, overhead sunlight creates problematic glares and deep shadows, making food look stark and lifeless.
The quality of light during golden hour has a huge impact on how your food photos turn out, often making them look more appetizing and professional.
Camera Settings for Capturing Glistening Noodles
Yes, natural light is magical, but your settings matter just as much. Having access to manual camera settings or dedicated camera apps can significantly improve your food photography results. Here’s how to get the technical side right, from DSLR to smartphone:
Aperture (f-stop)
A wide aperture (low f-number, like f/2.8 to f/5.6) creates a shallow depth of field, blurring your background and spotlighting the warmth and gloss of your laksa. Using a wide aperture can also help emphasize different heights in the dish, making the composition more dynamic by drawing attention to elements at varying levels.
ISO
ISO affects how sensitive your camera is to light. For crisp, clean images, keep ISO as low as you can (100–200) to avoid grain. Because golden hour is naturally dimmer than midday, it’s tempting to boost ISO—but consider using a tripod and dropping shutter speed instead. No tripod? Try to keep ISO under 800 for minimal noise, especially if shooting on a smartphone or entry-level camera.
Shutter Speed
Since your meal isn’t running off the table, you have wiggle room with shutter speed. Tripods allow for slower shutter speeds (1/60s or even 1/30s), letting more light hit your sensor while preventing blur. Handheld shots should stick to 1/125s or faster. Use the reciprocal rule: for a 50mm lens, aim for 1/50s or greater, adjusting as needed.
Positioning: Finding the Perfect Angle for Soft Light Reflection
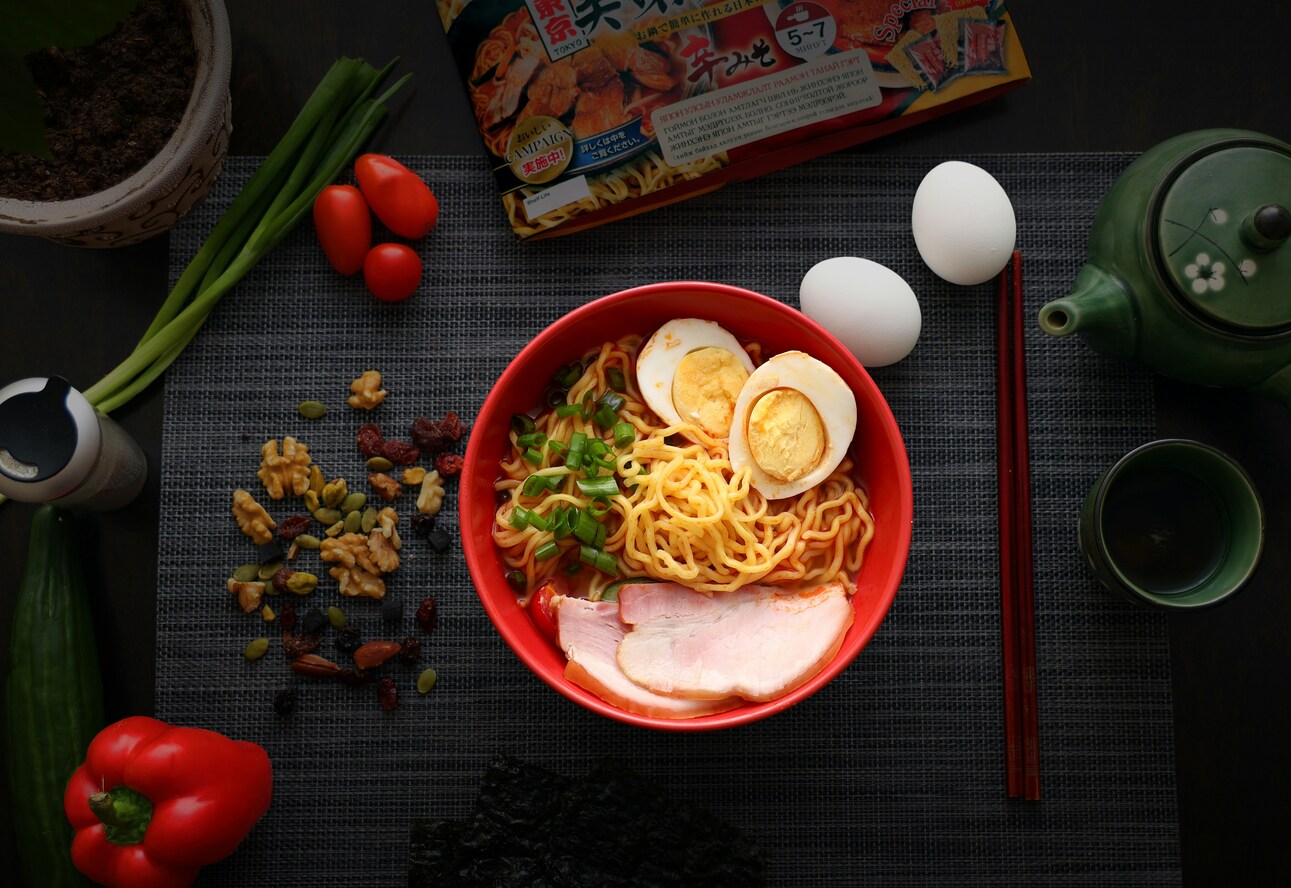
The setting of your props and light source plays a crucial role in determining the final image. How you position your subject with respect to the light source is the difference between a dull shot and an irresistible one. Also, consider the space you have available. Here’s how to play with angles:
- Backlighting: Position your laksa so the window or sun is behind it. This is perfect for noodle photography, as the light shines through the broth and noodles, making them glow from within. Use a large piece of white reflector, such as foam core or a white board, in front of the bowl to bounce soft light into the shadows. For stability, place the reflector on a stand to keep it steady during your shoot.
- Side-lighting: Place light on either the left or right of the dish. This versatile setup highlights textures, especially on the noodles and any glossy garnishes like prawns or tofu. Adjusting the angle of the light can shape the look and feel of the food, emphasizing depth and detail.
- 45-Degree Angle: This “in-between” setup gives a blend of shadow and highlight. It’s often the easiest to start with—attractive, natural, and flexible for changing props.
Beginner-Friendly Setup Guide
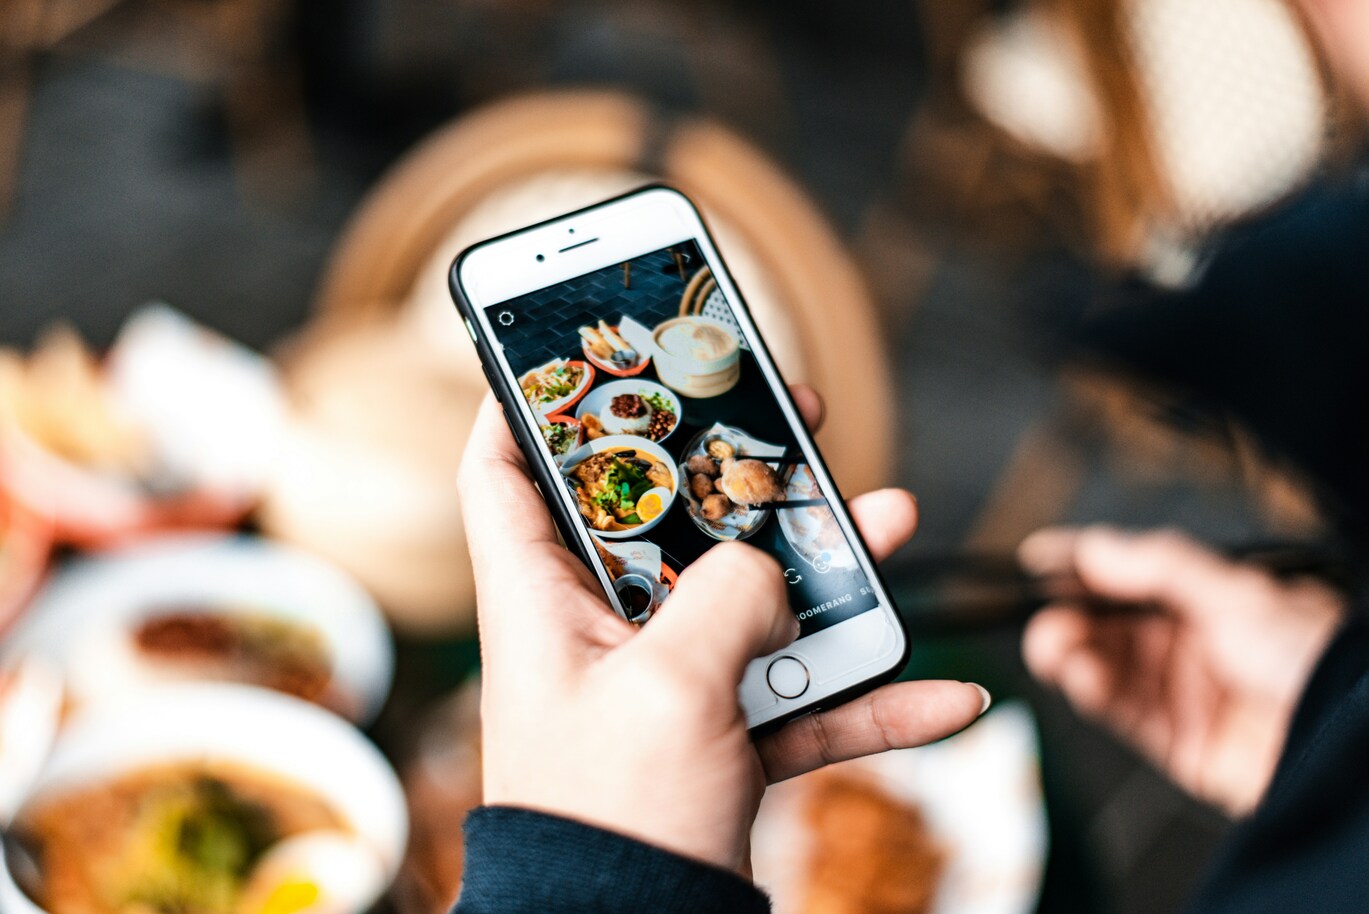
You don’t need a studio or bags of gear for delicious-looking natural light food photos. Here’s a simple way to set up at home:
- Find Soft, Indirect Light: A big window or open doorway is your best friend. Bright, direct sun? Hang a thin white curtain or sheet for instant diffusion.
- Choose a Background: Rustic wood, textured linen, slate, colored boards—all can change the feeling of your shot. Aim for backgrounds that flatter the warm tones of laksa.
- Arrange the Dish: Place your bowl near the window (6–24 inches away is usually a sweet spot). Try side-lighting first; it’s forgiving and reveals glistening shine beautifully.
- Bounce Light with a Reflector: Place a piece of white foam core or cardboard opposite the window. See how the shadows fill in? That’s your homemade studio magic.
- Tame Harsh Light: Even late-day sun can be too strong. Diffuse it with a soft fabric to avoid harsh reflections on the broth’s surface.
- Shoot Tethered (if possible): Connect your camera to a laptop or tablet for live-view feedback. You’ll spot flaws or distractions more easily than on a tiny screen.
Artificial Lighting Options for Food Photos

While natural light is often the go-to for food photographers, there are times when the sun just doesn’t cooperate—think cloudy days, nighttime shoots, or windowless kitchens. That’s where artificial lighting steps in, giving you total control over your lighting situation. You can adjust the intensity, direction, and color of the light to suit your dish, ensuring every bowl of noodles or plate of pasta looks its best. This level of control is especially valuable for professional food photography, where consistency across multiple shots or recipes is essential.
Advanced Techniques for Professional Food Shots
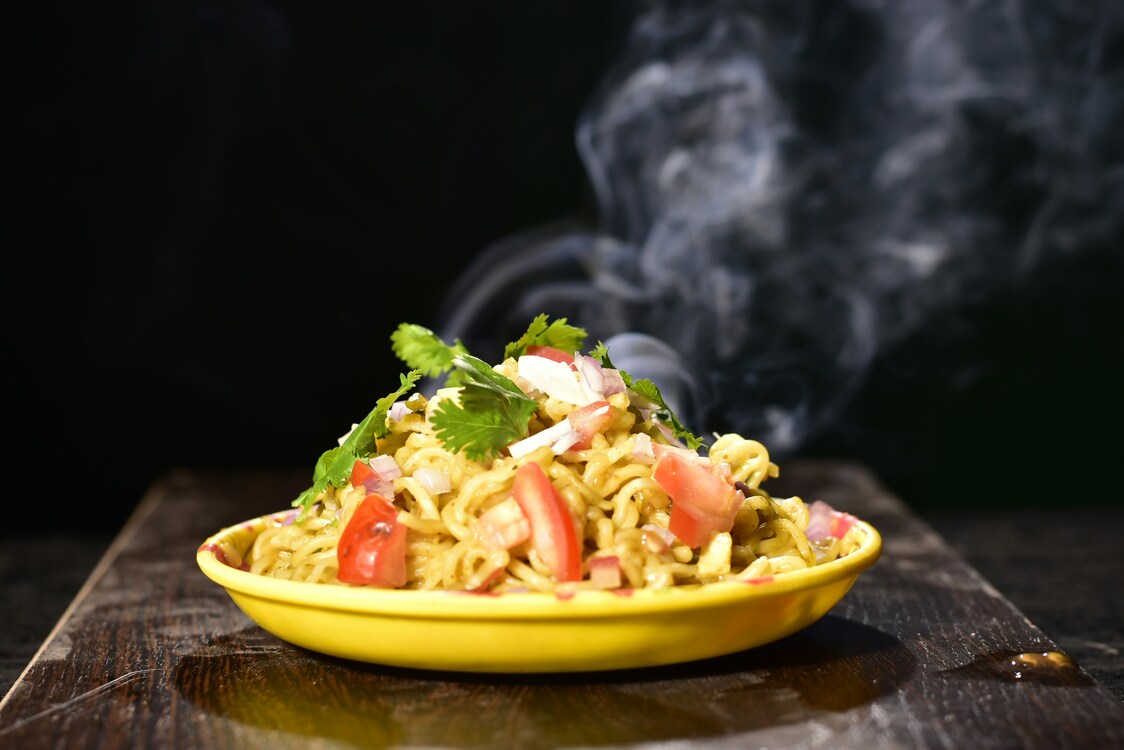
Advanced techniques can help you highlight intricate details and create a specific mood in your images. Here are techniques the pros use for showstopping shots:
- Negative Fill: Place black foam core or cloth on one side of your dish to soak up light, deepening shadows for drama and depth.
- The “Garnish Drop”: Add motion by photographing a sprinkle of herbs, a squeeze of lime, or a splash of chili oil falling into the bowl. Use a fast shutter speed (1/500s+) and burst mode to freeze the movement.
- Create Steam: Hot laksa cools fast, but a hidden cotton ball soaked in microwaved water or a discreet handheld steamer behind the bowl makes steam last for several shots.
- Oil or Water Brush: Add a dab of neutral oil (like canola) or a light spritz of water to the noodles or toppings before shooting.
- Composition and Scene: When arranging your shot, consider how the elements in the scene—such as varying heights, textures, and lighting—can guide the viewer’s eye and tell a more engaging visual story.
- Tip for Drinks: These techniques also work wonders when photographing drinks. For example, capture the glisten of a cocktail during golden hour to highlight details and set the perfect mood.
Quick Post-Processing Tips for Light Manipulation
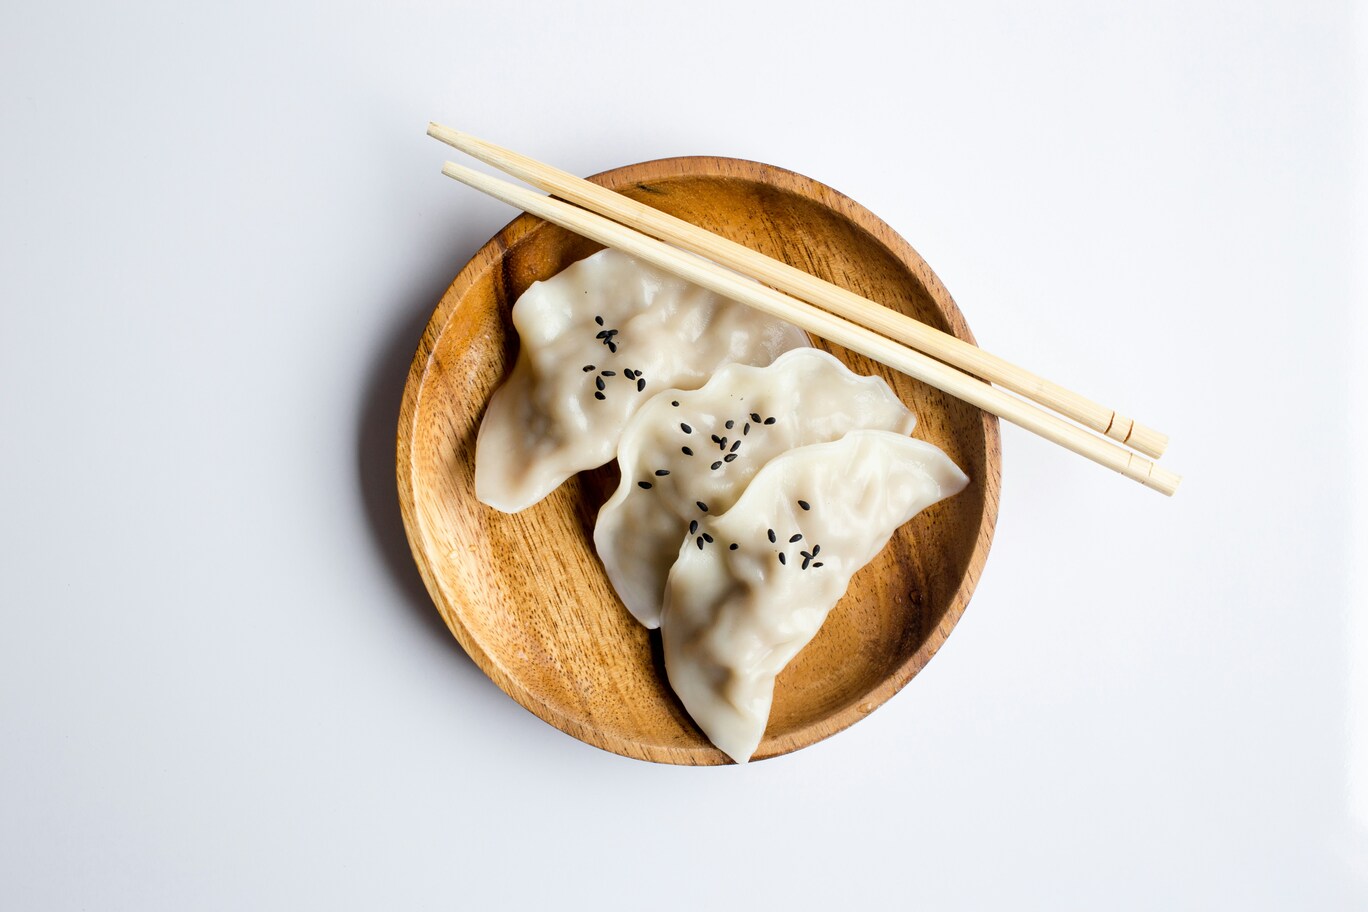
Even the best-lit photos benefit from a thoughtful edit. Having access to editing software, including free tools, can help enhance your food photos after shooting. Here’s how to finish your shot without crossing into “over-processed” territory:
- Adjust Exposure & Contrast: Use your editing app to brighten the image and add contrast as needed, bringing out the laksa’s bold colors.
- Vibrance vs. Saturation: Use the vibrance slider to make the reds, oranges, and greens pop without making the dish look unnatural.
- Dodge & Burn: Locally brighten (dodge) the highlights on the noodles and surface of the broth, and darken (burn) dull or distracting background areas.
- Clarity and Texture (in Moderation): Enhance the texture of noodles or tofu with targeted clarity, but avoid applying globally; too much sharpness can look gritty.
Pro editors usually work in layers, creating subtle adjustments that keep the dish looking real and delicious.
Applying These Techniques to Other Dishes
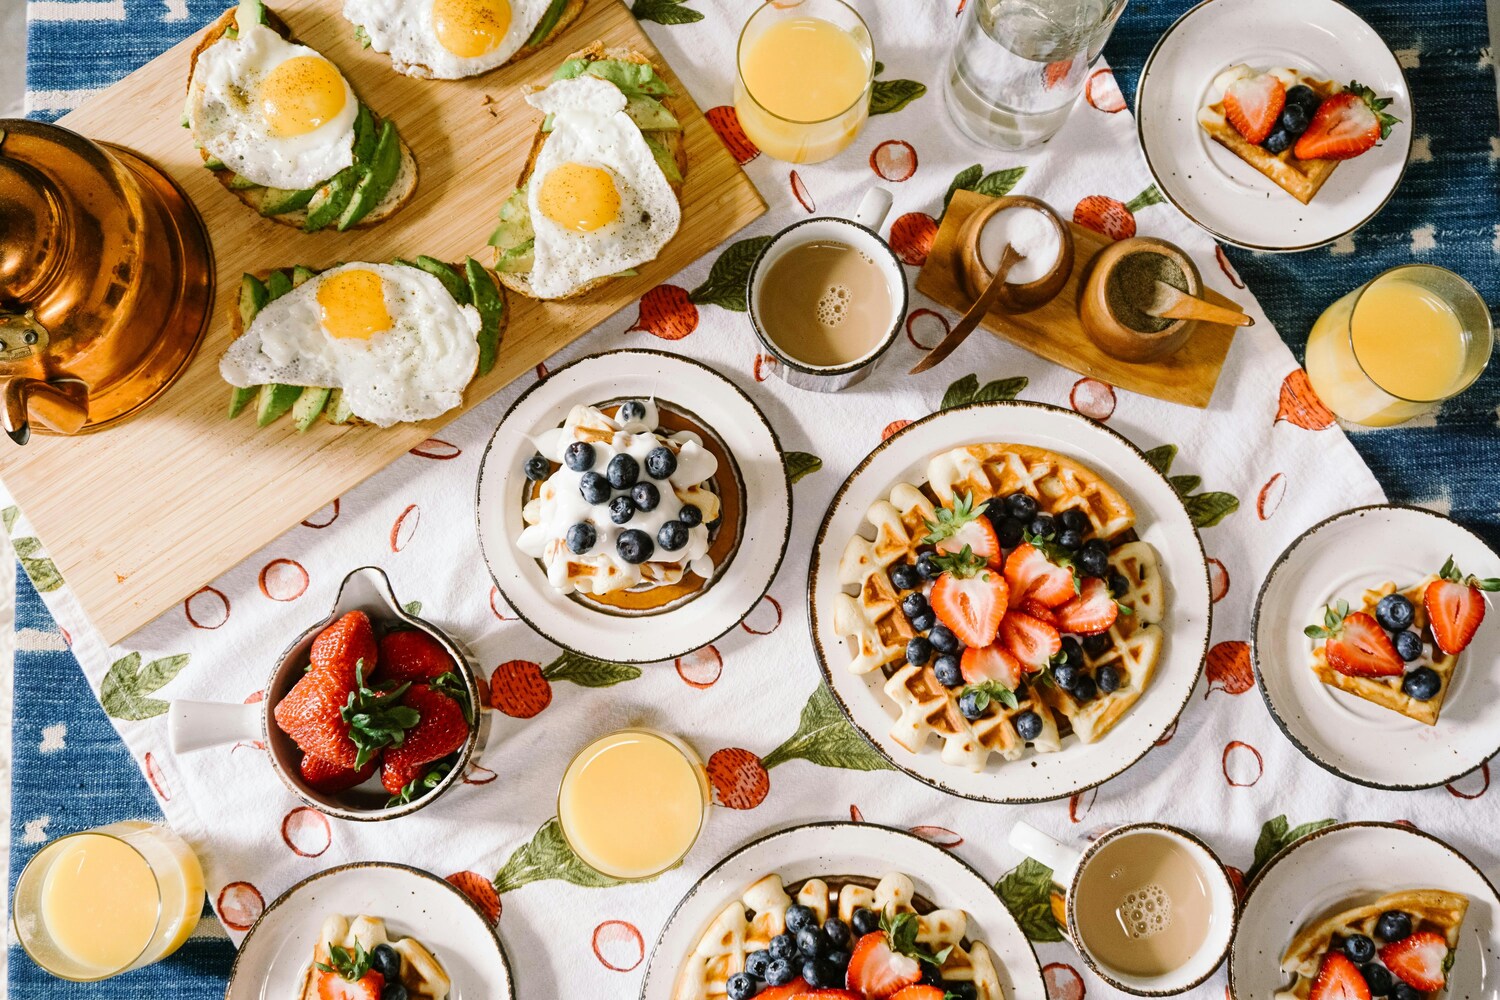
Once you’ve mastered golden hour photography with laksa, you’ll have a powerful toolkit for shooting all sorts of glossy, textured foods—ramen, pho, saucy pastas, even dessert soups. The keys? Directional, soft light; mindful camera settings; and food styling that spotlights rather than overshadows the food’s character.
Light is the universal ingredient. Whether you’re after punchy, high-contrast ramen or creamy, glowing laksa, observe how golden hour shapes color and shine.
Pay attention to how you arrange the scene—varying heights, textures, and lighting can enhance the visual appeal and guide the viewer’s eye. Play with reflectors, tweak your angles, and practice food styling techniques that respect the dish’s origins and authenticity.
Composition’s Sweet Spot: A Guide in Framing Desire for Food Bloggers in Singapore
January 30, 2026
You have found the perfect bowl of bak chor mee. The noodles glisten, the minced pork is perfectly seasoned, and the chili sauce adds a vibrant splash of red. You snap a quick picture, but…
Laksa’s Velvet Embrace Welcomes the Best Foodies
January 26, 2026
There are dishes that you eat, and then there are dishes that you experience. Laksa is firmly in the latter category. It is an intoxicating, full-body immersion into a world of flavor, a dish so…
Tiong Bahru: The Slow Seduction of Food in Photography
January 23, 2026
Some neighborhoods shout for your attention. They are a riot of sound, color, and frantic energy. Tiong Bahru is not one of them. This corner of Singapore operates on a different frequency, a slower and…
Chili Crab Confidential: Producing Perfect Pics of Food
January 19, 2026
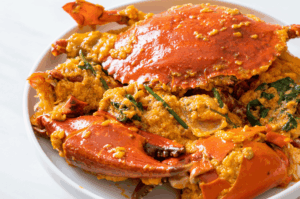
It arrives like royalty, carried to the table with a sense of occasion. A colossal crab, bathed in a thick, shimmering sauce the color of a fiery sunset. The air around it is fragrant with…
The Art of the Tease: Captured in Food Photography
January 16, 2026
In the world of food photography, there is a powerful and often overlooked technique, a subtle language of visual seduction. It is the art of the tease. It is the practice of not showing everything,…
Geylang’s Secret Appetites: A Guide for Every SG Foodie
January 12, 2026
There is a side of Singapore that hums with a different energy. It is a place where the polished gleam of the city gives way to a raw, vibrant, and unapologetic reality. This is Geylang….
The Peranakan Seduction: A Food Photography Photographer’s Insight
January 11, 2026
There are some cuisines that you photograph, and there are some that you court. Peranakan food falls firmly into the latter category. It is a seduction of the senses, a rich tapestry of history, flavor,…
Geylang’s Forbidden Flavors: The Best Foodies District
January 9, 2026
Mention Geylang, and you will likely get a mix of reactions. This neighborhood, with its gritty reputation and neon-lit side streets, exists in a space separate from Singapore’s polished image. But for those in the…
Holland Village: East Meets West Journey of Food and Photography
January 2, 2026
There is a corner of Singapore where the laid-back charm of a European village collides with the vibrant energy of a Southeast Asian city. It is a place where the aroma of freshly brewed espresso…
The Tease of Motion: Capturing Culinary Food in Photography
December 29, 2025
Food is rarely static. It drips, sizzles, steams, and crumbles. It is poured, flipped, chopped, and shared. Yet, so often, we see food in photography presented as a perfectly still, lifeless object on a plate….

